Posted: Tue Oct 11, 2016 11:07 pm
AC lines going through the floor in tank cavity....charcoal canister we made to vent the tank fumes....
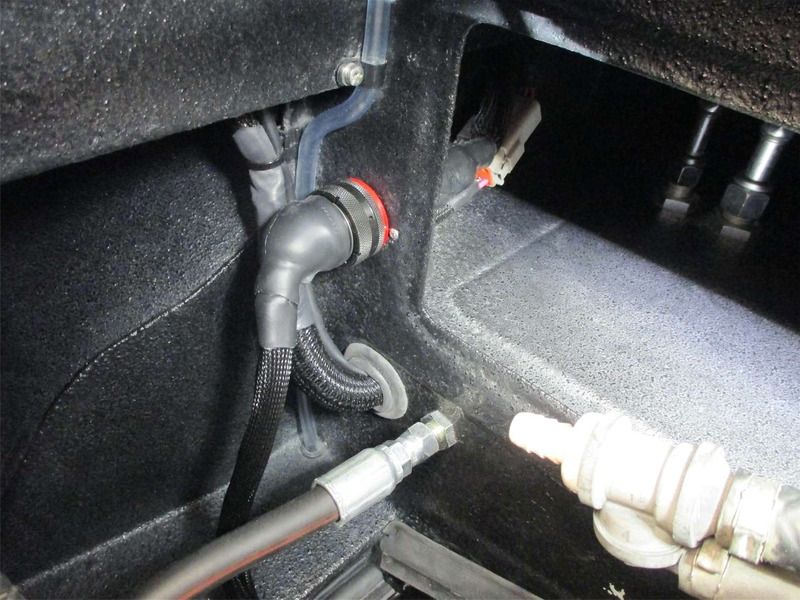
All the wiring is braid wrapped or PVC sleeved....the firewall plug is aircraft spec but makes engine removal (if needed!) a one connection deal (apart from fuel etc)
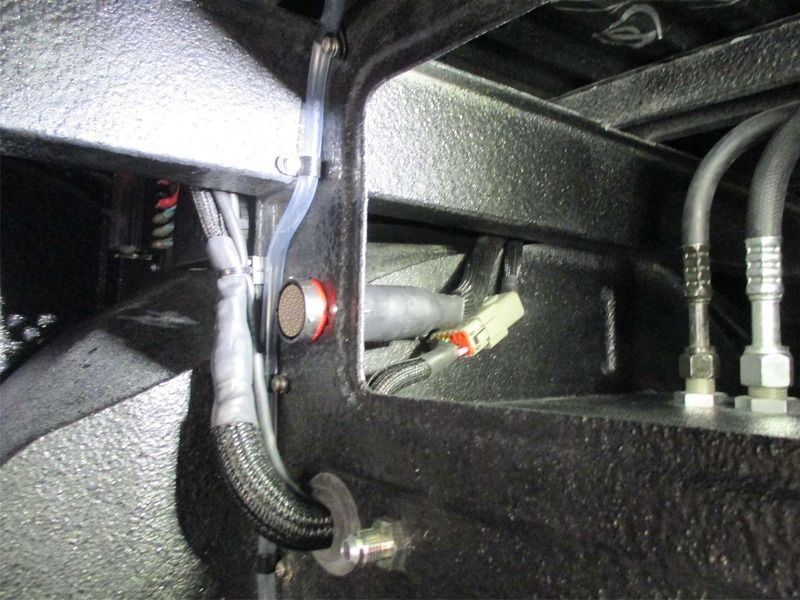
Fuse panel distributes power to reverser camera, reverse sensors, and LED reverse lights plus a few other components in the engine bay....earth distribution block avoids having a heap of wires running to body grounds all over the place
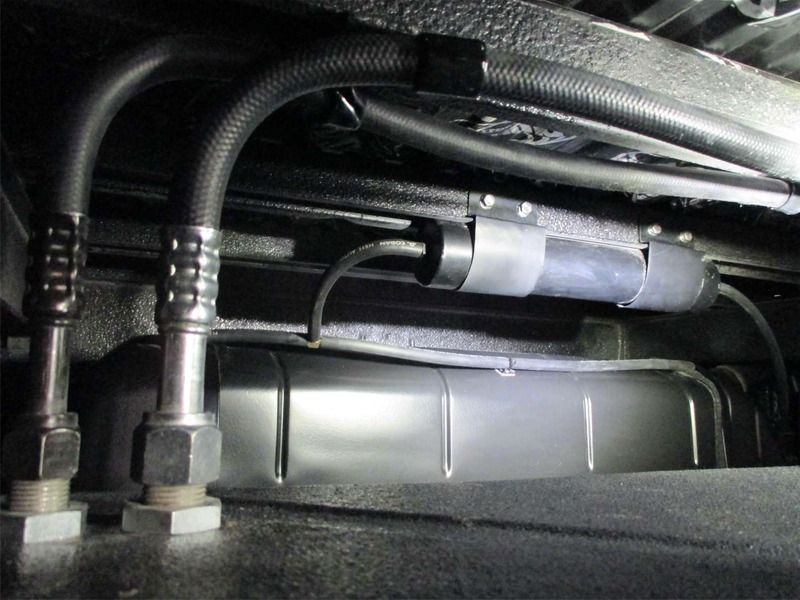
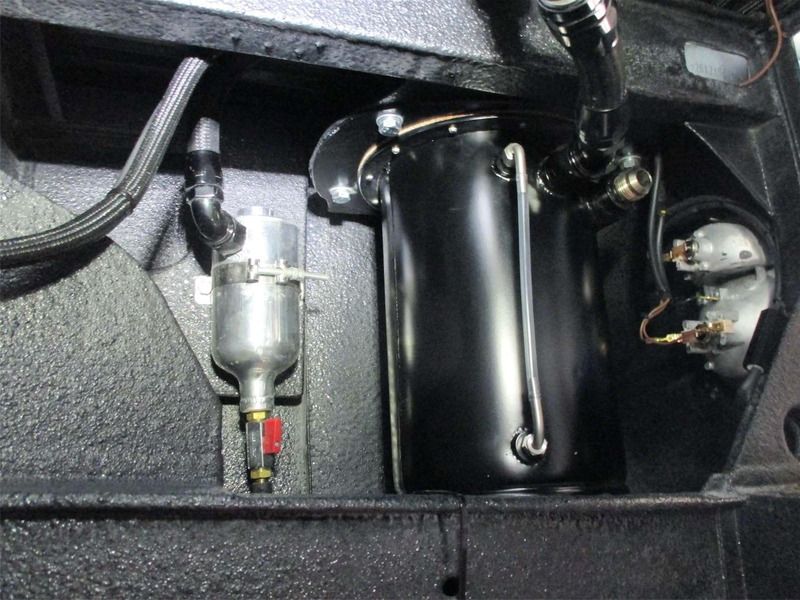
Custom dry sump tank vents to catch can (breather filter not fitted yet in the pic)....obviously this is during fitout before all connections were finalised
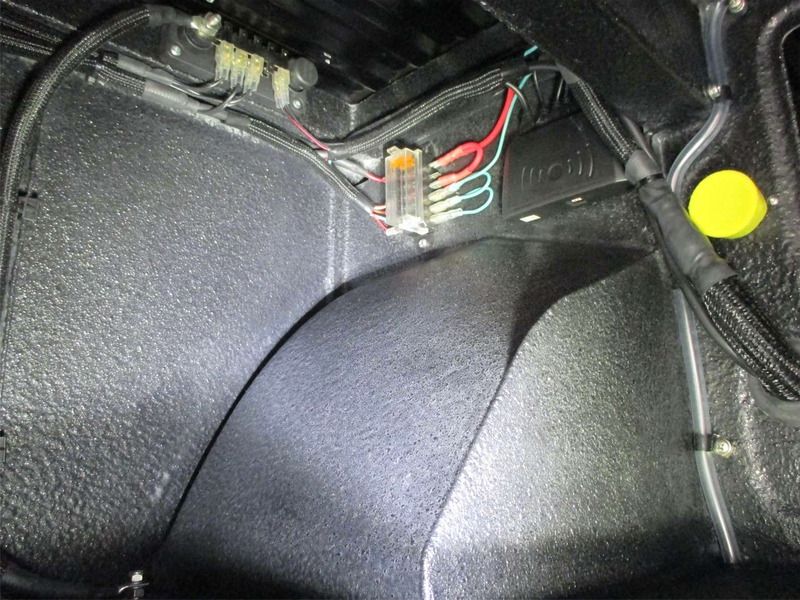
Micro switch under the bus controls the heater booster fan (on the engine fan shroud), operated by the lever on the dash
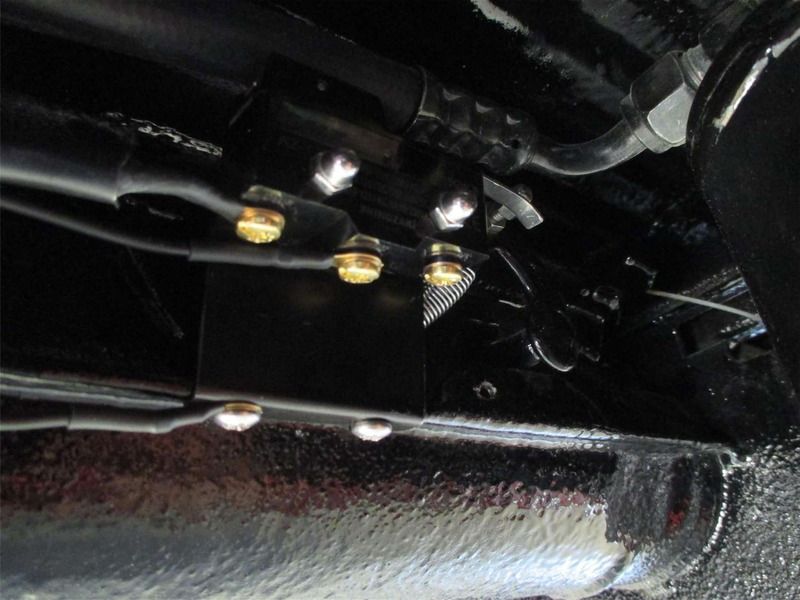
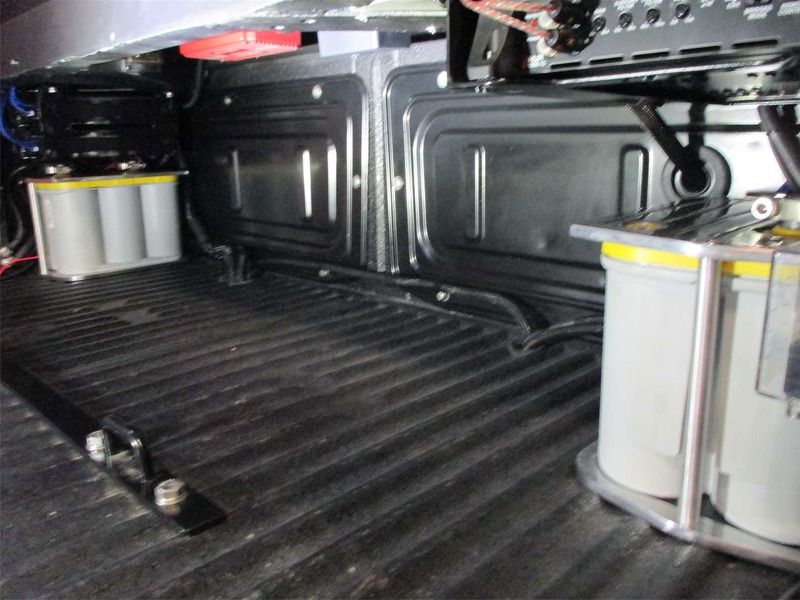
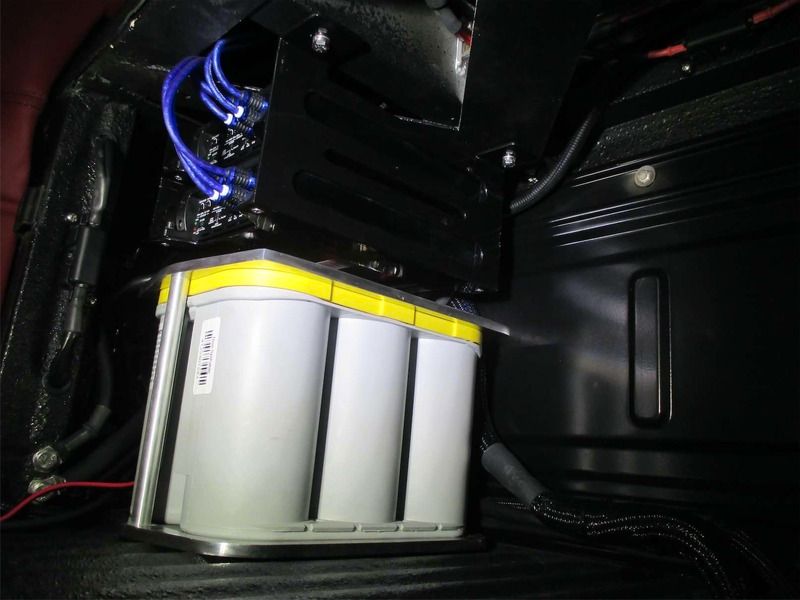
Dual optima yellow top batteries
All engine management electronics were mounted behind the rear seat but had to be up high to clear the sub box

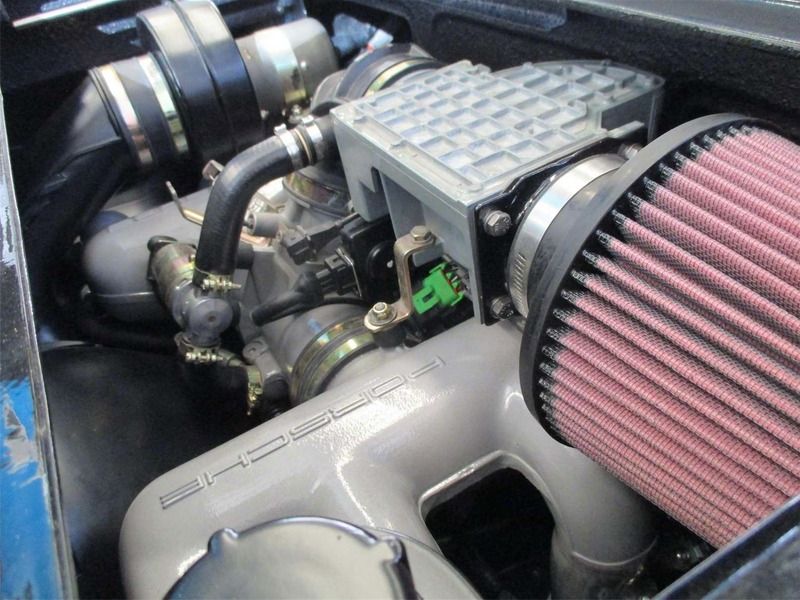
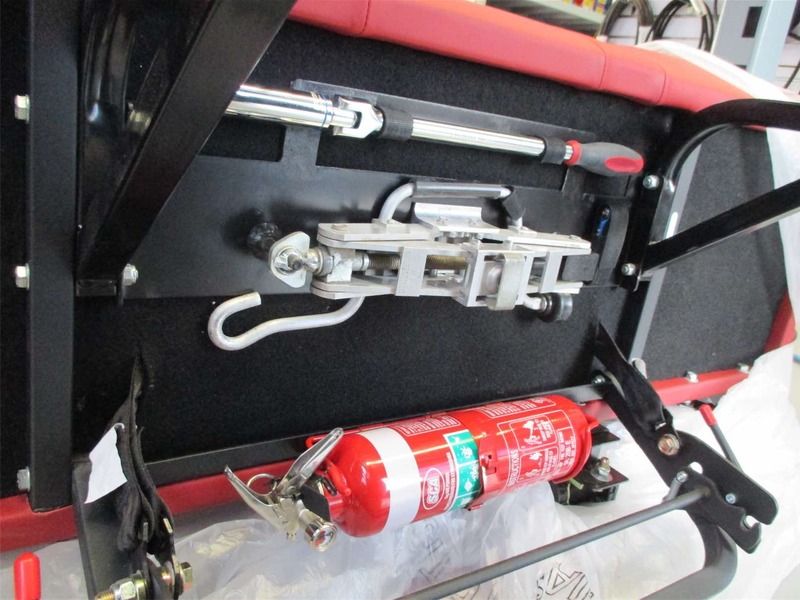
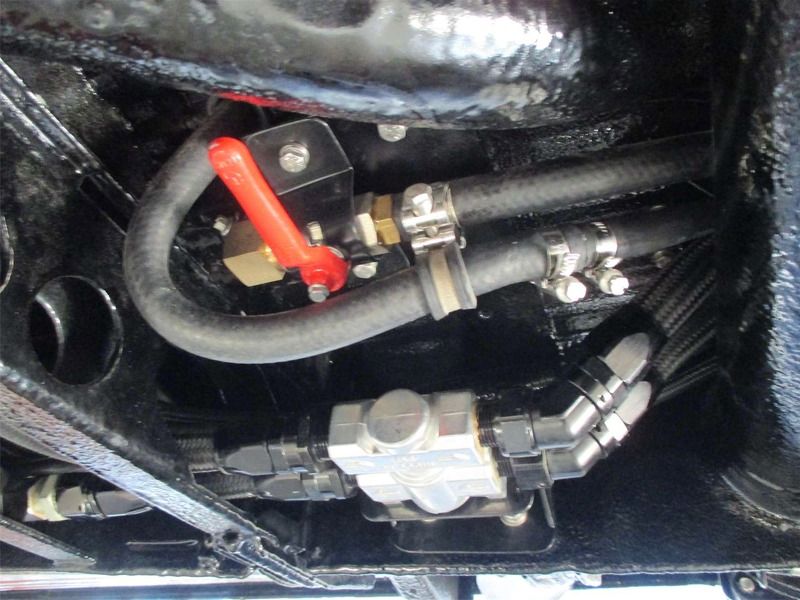
Oil thermostat (-12 lines), fuel shut off tap (makes fuel system maintenance a lot easier)...and other stuff...
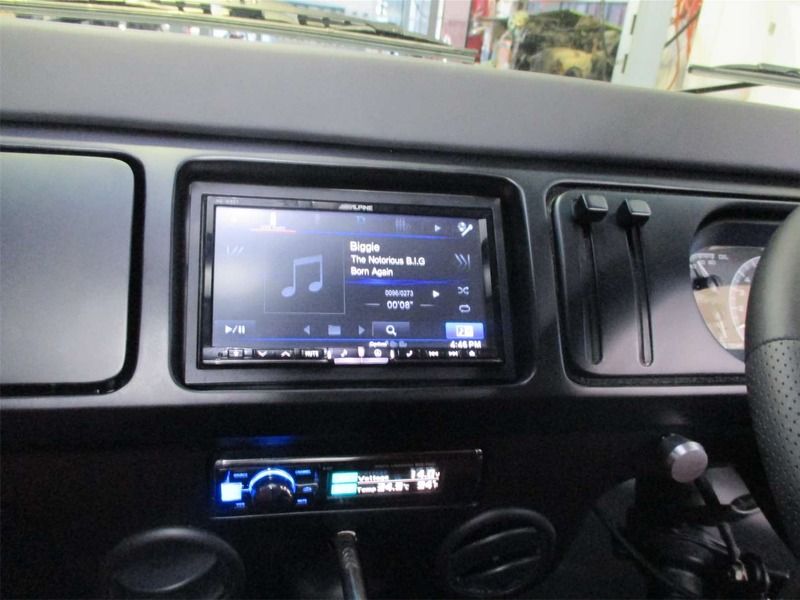
Two four channel amps power the 8 mid range woofers and 4 tweeters (all controlled via the Alpine processor)
LED strip light in engine bay helps to see oil level (sight tube on tank) at night...
All the wiring is braid wrapped or PVC sleeved....the firewall plug is aircraft spec but makes engine removal (if needed!) a one connection deal (apart from fuel etc)
Fuse panel distributes power to reverser camera, reverse sensors, and LED reverse lights plus a few other components in the engine bay....earth distribution block avoids having a heap of wires running to body grounds all over the place
Custom dry sump tank vents to catch can (breather filter not fitted yet in the pic)....obviously this is during fitout before all connections were finalised
Micro switch under the bus controls the heater booster fan (on the engine fan shroud), operated by the lever on the dash
Dual optima yellow top batteries
All engine management electronics were mounted behind the rear seat but had to be up high to clear the sub box
Oil thermostat (-12 lines), fuel shut off tap (makes fuel system maintenance a lot easier)...and other stuff...
Two four channel amps power the 8 mid range woofers and 4 tweeters (all controlled via the Alpine processor)
LED strip light in engine bay helps to see oil level (sight tube on tank) at night...